

How to make paper art bows for decoration?
Aug 18, 2026
Leave a message
Paper art bows are a charming and versatile addition to any decoration. As a supplier of Paper Art Props Decoration, I'm excited to share with you the step - by - step process of creating these beautiful paper art bows. Whether you're planning a wedding, a birthday party, or simply want to add a touch of elegance to your home, paper art bows can be the perfect solution.
Materials Needed
Before you start making paper art bows, you'll need to gather a few essential materials. First and foremost, you'll need high - quality paper. The type of paper you choose can greatly affect the look and feel of your bow. For a more traditional and elegant look, consider using satin or crepe paper. These papers have a smooth texture and come in a wide range of colors. You can also use patterned papers for a more playful and unique look.
In addition to paper, you'll need some basic tools. A pair of sharp scissors is essential for cutting the paper to the right size and shape. You'll also need a glue stick or double - sided tape to hold the bow together. If you want to add some extra sparkle, consider using glitter glue or rhinestones.
Step 1: Cutting the Paper
The first step in making a paper art bow is to cut the paper into strips. The width of the strips will depend on the size of the bow you want to make. For a small bow, strips that are about 1 - 2 inches wide are ideal. For a larger bow, you can use strips that are 3 - 4 inches wide.
Cut the paper into long strips, about 12 - 18 inches in length. You can use a ruler to ensure that your strips are straight and of equal width. If you're using patterned paper, make sure to cut the strips in a way that showcases the pattern.
Step 2: Creating the Loops
Once you have your paper strips, it's time to start creating the loops. Take one end of the strip and fold it over to form a loop. The size of the loop will depend on the look you're going for. You can make small, tight loops for a more delicate look, or larger, more open loops for a bolder statement.
Secure the loop with a small piece of double - sided tape or a dot of glue. Then, take the other end of the strip and fold it over in the opposite direction to create another loop. Overlap the two loops slightly and secure them together with tape or glue.
Step 3: Building the Bow
Continue creating loops and attaching them to the previous ones to build up the body of the bow. You can add as many loops as you like, depending on how full and voluminous you want the bow to be. For a more professional look, try to keep the loops evenly spaced and of similar size.
As you build the bow, you can experiment with different loop sizes and shapes. You can make some loops larger than others, or create asymmetrical loops for a more modern and unique look.
Step 4: Adding the Center
Once you're satisfied with the size and shape of your bow, it's time to add the center. You can use a small piece of coordinating paper, ribbon, or even a button to create the center of the bow.
Cut a small strip of paper or ribbon and wrap it around the center of the bow, where all the loops meet. Tie it in a tight knot or secure it with glue. If you're using a button, you can glue it to the center of the bow for a decorative touch.
Step 5: Finishing Touches
To add some extra flair to your paper art bow, you can add some finishing touches. You can use glitter glue to add some sparkle to the edges of the loops, or attach rhinestones or beads to the center of the bow.
You can also use a hot glue gun to attach a piece of wire or a clip to the back of the bow. This will make it easier to attach the bow to a vase, a gift box, or a piece of clothing.
Applications of Paper Art Bows
Paper art bows have a wide range of applications in decoration. They can be used as a centerpiece for a table, adding a pop of color and elegance. You can place a large paper art bow in the middle of a table, surrounded by candles or flowers, to create a stunning focal point.
For weddings, paper art bows can be used to decorate the aisle. You can attach them to the ends of the chairs or to the railing, creating a beautiful and romantic atmosphere. They can also be used to adorn the wedding cake, adding a touch of sophistication.
In home decoration, paper art bows can be used to decorate mirrors, picture frames, or curtains. They can add a festive touch during holidays or simply enhance the overall aesthetic of the room.
If you're interested in more paper art decoration options, you can visit our Activity Decorative Paper Art page, which offers a wide range of products for various activities. And for those looking for a more dramatic backdrop, our Giant Rose Background Props are a great choice.
Why Choose Our Products
As a professional Paper Art Props Decoration supplier, we take pride in offering high - quality products. Our paper is sourced from the best manufacturers, ensuring that it is durable and has a beautiful finish. We also offer a wide range of colors and patterns to choose from, so you can find the perfect paper art bows to match your decoration theme.
Our team of experts is always on hand to provide you with advice and support. Whether you're a professional event planner or a DIY enthusiast, we can help you create the perfect paper art decorations for your needs.
Conclusion
Making paper art bows is a fun and rewarding activity that can add a touch of charm to any decoration. With a little patience and creativity, you can create beautiful bows that will impress your guests. Whether you're using them for a special event or for everyday home decoration, paper art bows are a versatile and cost - effective option.
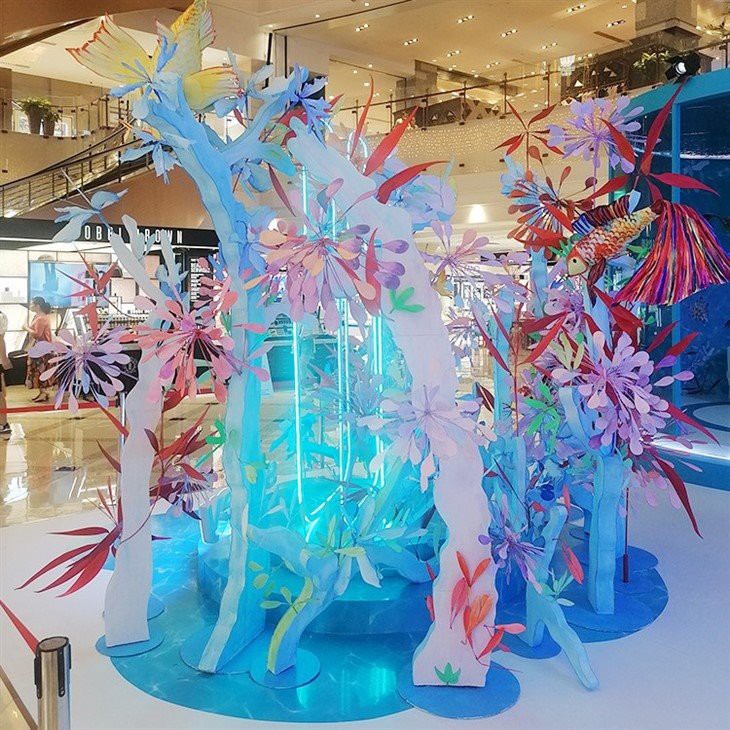

If you're interested in purchasing our paper art props for your next decoration project, we invite you to contact us for procurement and negotiation. We look forward to working with you to create the most stunning decorations.
References
- "The Art of Paper Crafts" by Jane Smith
- "Paper Decorations for Every Occasion" by Emily Johnson